|
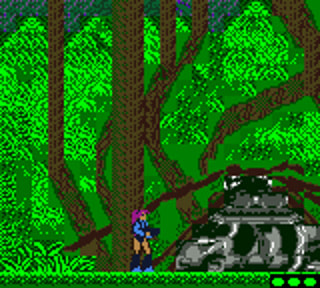
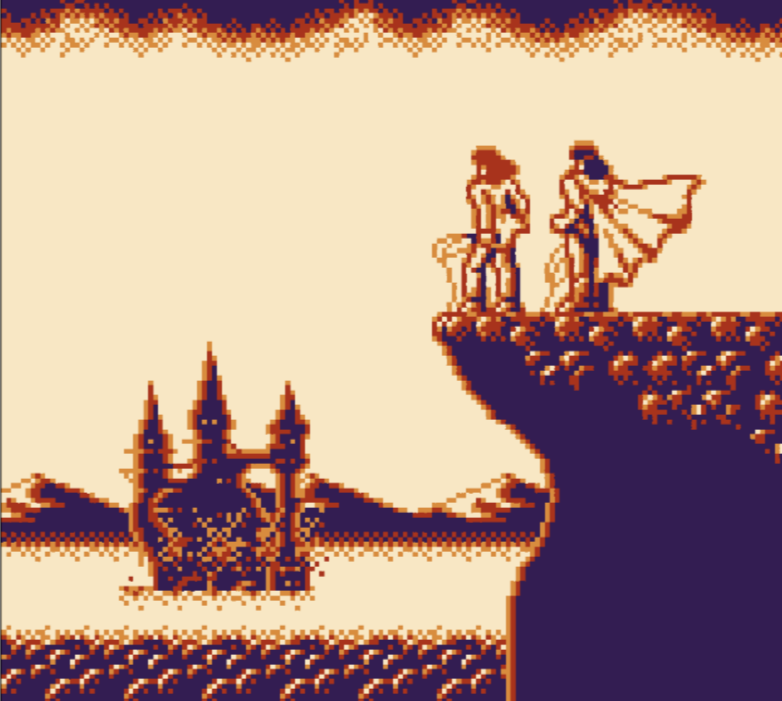
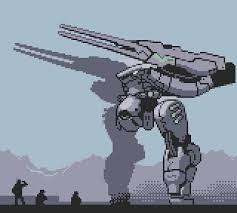
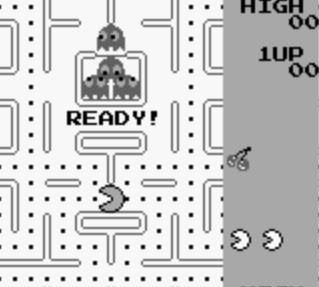
Recently I picked up a handful of Game Boy and Game Boy Color games, as I was in need of games I could quickly pick up and put down while juggling a newborn. While I had an original Game Boy as a child I had only a couple of games, making this unexplored territory for me. After playing each I commemorated my experience with a haiku. Some snarky, some celebratory, and others simply about the mood and impression the game imprinted on me. 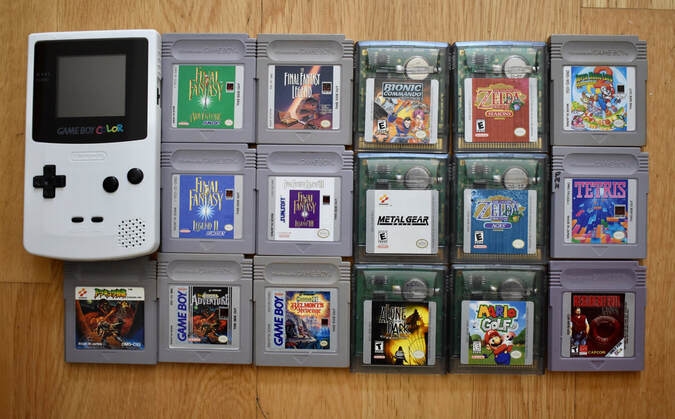
1 Comment
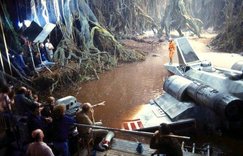
Recently I created a mini Star Wars terrarium, complete with miniature Yoda, and these are the steps I took to make it. In the future I plan to create some other scenes, and I will be sure to post pictures of those. 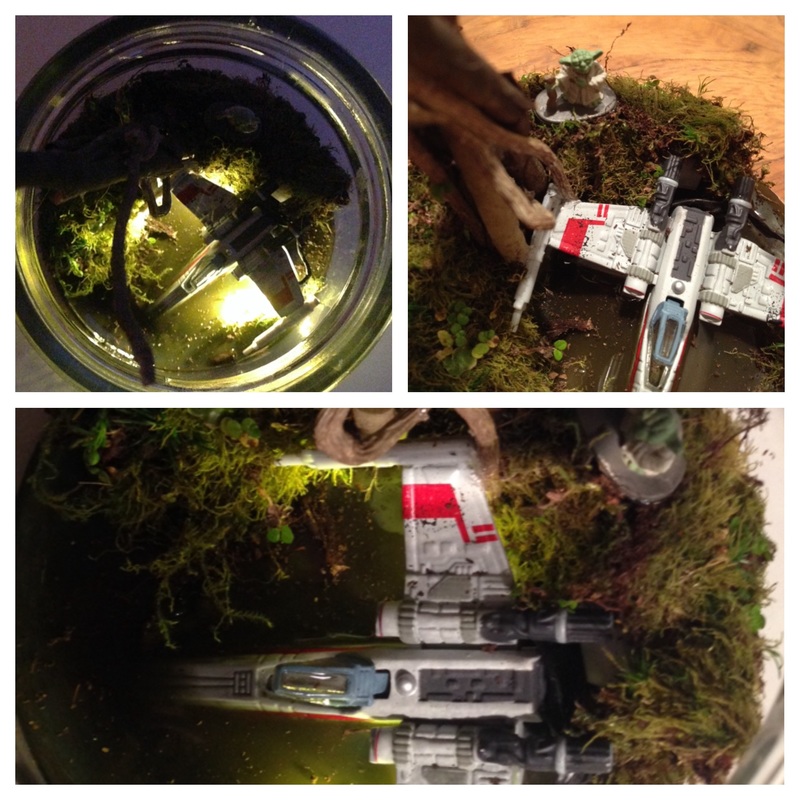 Step 1: Plan I started by downloading a few references photos and rewatched the scene where Luke crash lands into the murky swamp planet. From there I made a list of the materials I would need. Here's a list:
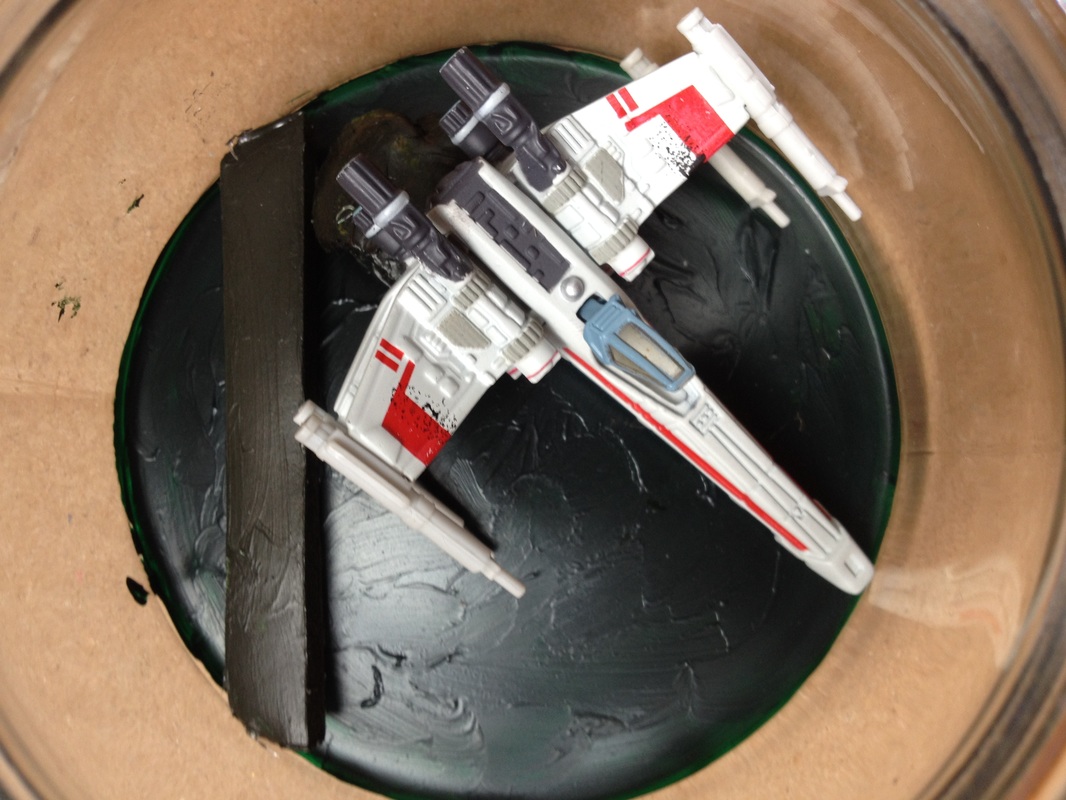
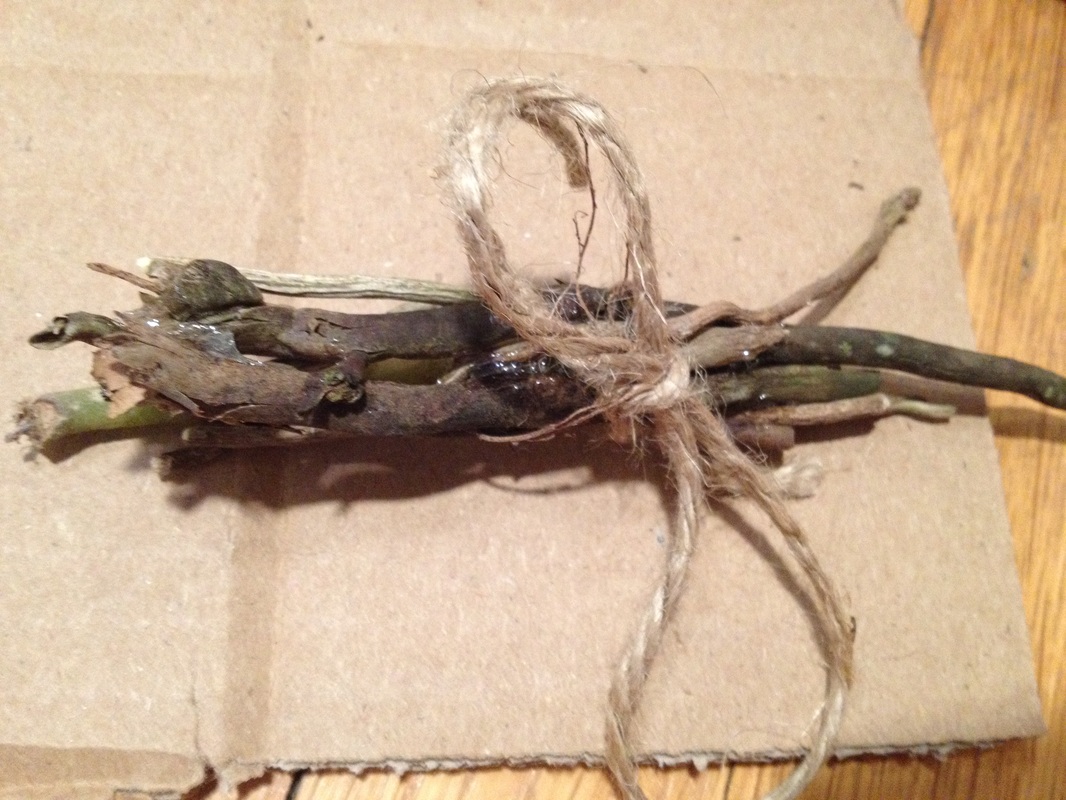
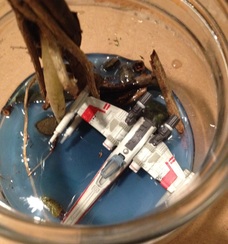
Step 2: Water and Tree With all of my materials ready, I began by mixing some acrylics and then painted the base of the glass container. While that was drying I bundled up my sticks (for the tree), tied them off with some twine, and then applied some gorilla glue (the twine is temporary while the glue sets). I placed the tree and the X-wing in my scene, and stuck a small piece of cardboard under one side of the ship so that it would be slightly at an angle, like in the movie.
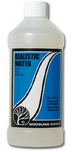
Using a small plastic container I mixed a tiny amount of acrylic paint (a swamp like color mixture) and then added in the realistic water. This water stuff will bubble if you shake it, so I was careful to instead stir it up, which took about 5 minutes. Next I took my mixture and poured it into my scene, about an 1/8 of an inch deep (as the bottle advises), spreading the thick liquid to the edges with a toothpick. 24 hours later it had hardened (this is the minimum amount of time it takes to dry). I repeated my mixture and pouring steps, this time tweaking the color a bit to be more in line with what I wanted, but this time I also dropped in some flakes of twigs and dirt in order to get some grimy texture imbedded into the water. With the second pour I waited 48 hours, in order to make sure it was fully dry before moving to the next step. At this point, it was safe to remove the twine from the stick bundle, as the glue and water held it firmly in place.
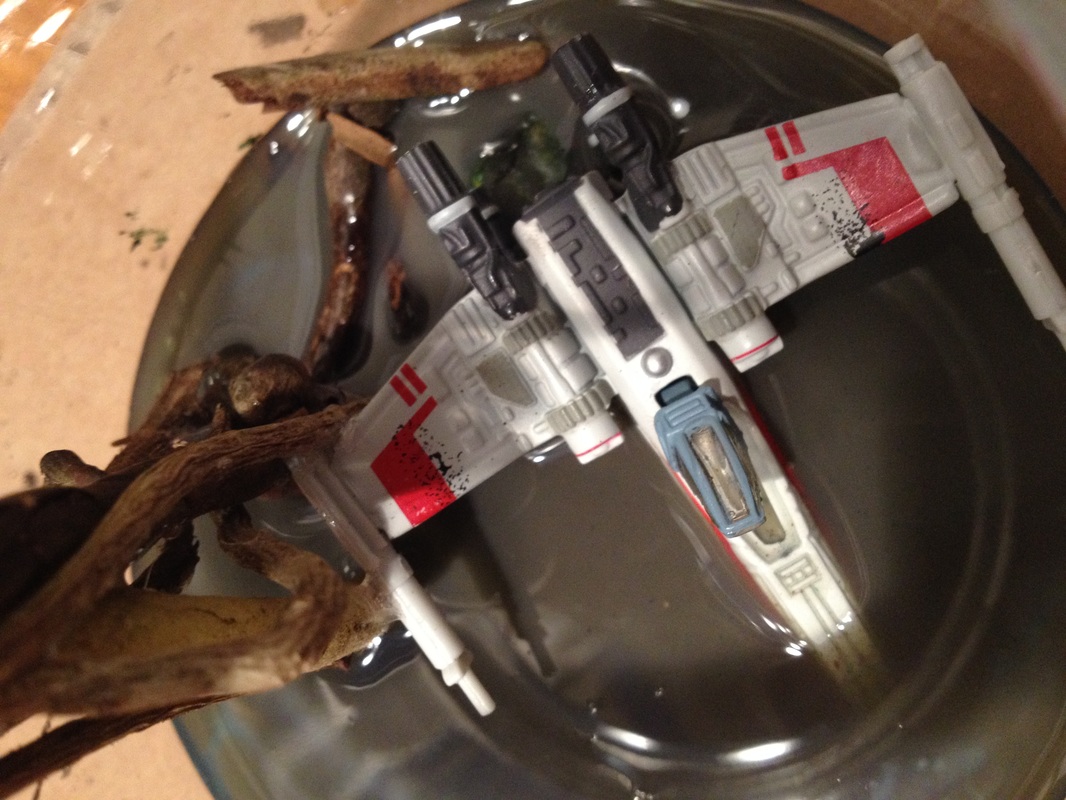
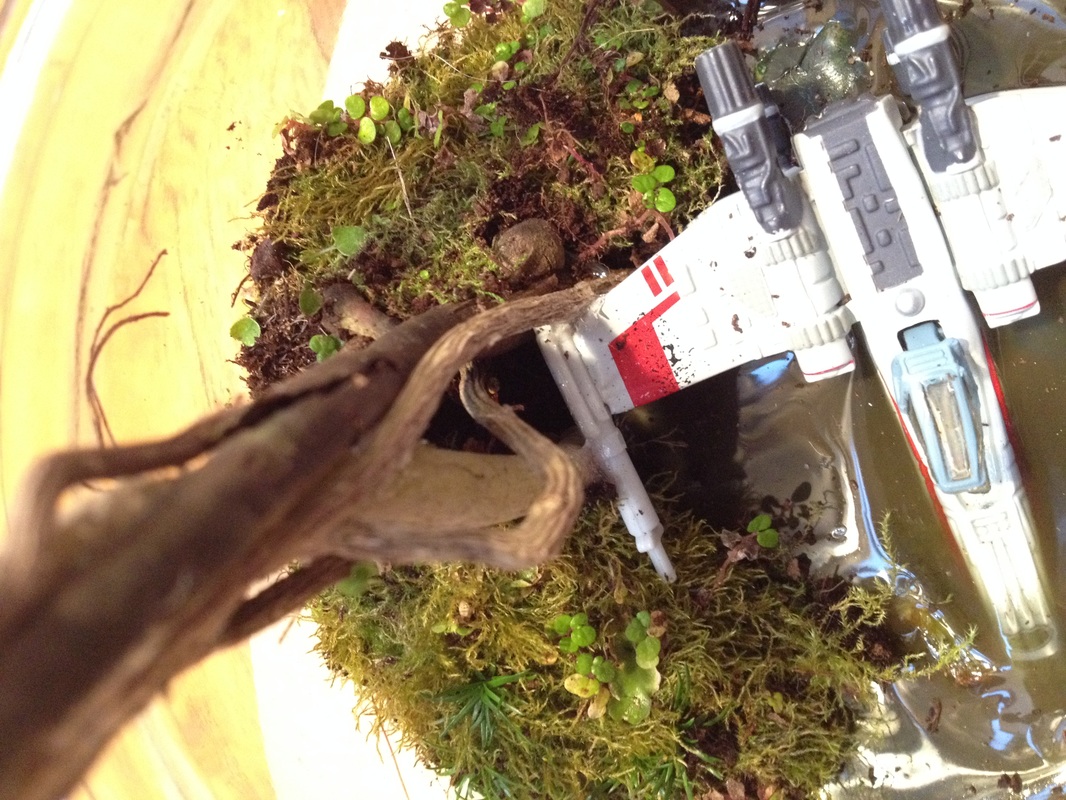
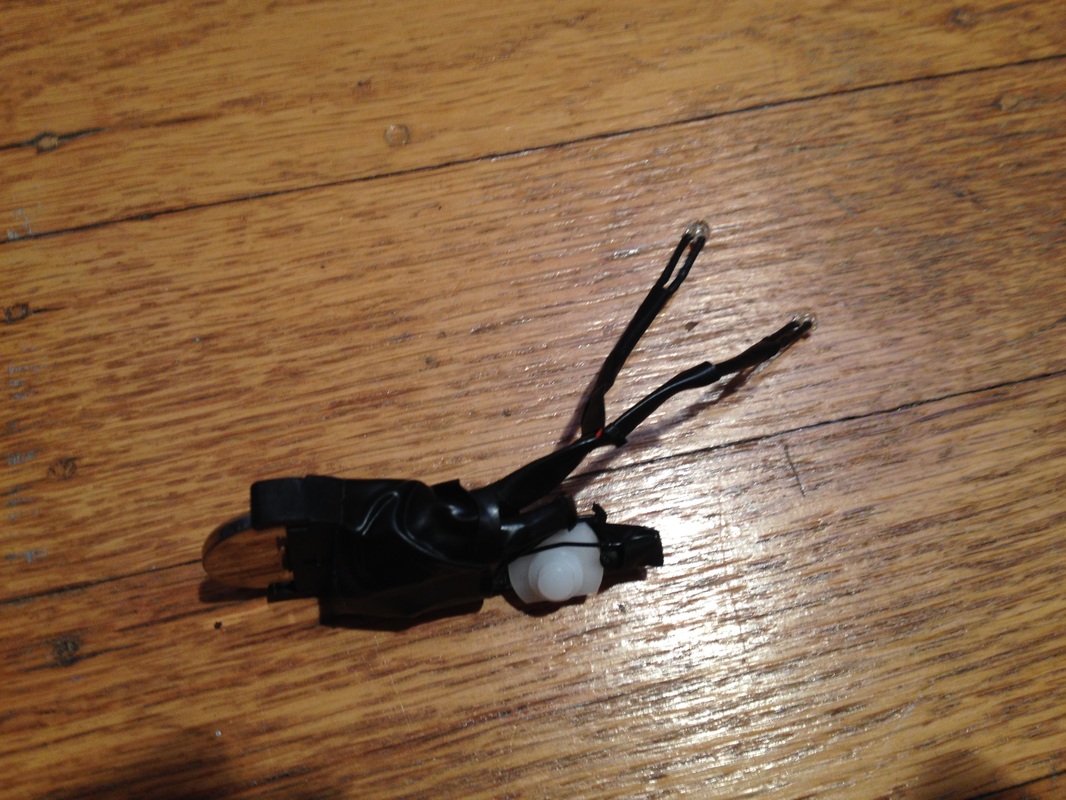
Step 3: Moss and Lighting I tore my moss into a few manageable chunks and then stuffed them into place, making sure to curve the pieces downward on the edges so that no matter what angle you looked at the terrarium it would still look good. I connected my LEDs, following the instructions that came with the set, and then used some electrical tape to bundle it into a tight fit. I squeezed the lighting set into place, tucking the bulk of the bundle under the moss patch, with the lights fitted under the wings.
Step 4: Yoda Lastly, I glued Yoda on top of the moss hill using some gorilla glue, and then turned on the lights to enjoy the final product.
|
AuthorBrian Riggsbee lives in San Francisco CA. He enjoys gaming, writing, creating art, practicing Brazilian Jiu-Jitsu, chasing adorable dogs, and spending time with his wife and boy. 
Categories
All
Archives
December 2022
|


 RSS Feed